

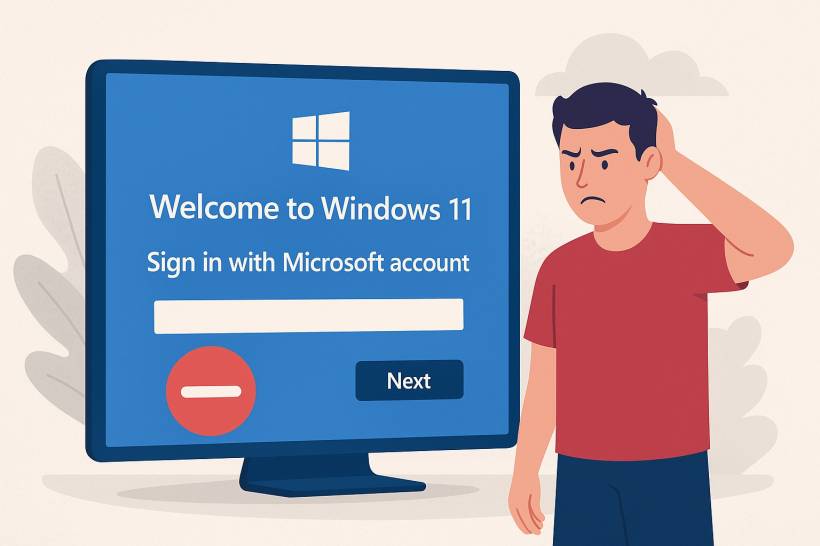
Goodbye to Offline Setups? - If you've ever set up a new Windows 11 PC, you've probably noticed something — Microsoft really, really wants you to sign in with a Microsoft account. While that might not sound like a big deal to most, there's a sizeable group of users who prefer to create a local account — one that doesn't rely on the internet or tie into Microsoft's online ecosystem.
Unfortunately, it looks like those days are coming to an end.
In the latest Windows 11 test builds, Microsoft has started closing off even more of the known workarounds that allowed users to bypass the online sign-in requirement. In short: it's getting much harder to set up Windows 11 without logging in to a Microsoft account.
Why Microsoft Is Doing This
According to Microsoft, these workarounds "inadvertently skip critical setup screens, potentially causing users to exit OOBE (out-of-box experience) with a device that is not fully configured."
In plain English: Microsoft says it's trying to ensure that every Windows 11 installation goes through the full setup process to avoid misconfiguration or missing features.
But to many long-time Windows users, this move feels less about safety — and more about control. After all, local accounts have been a staple of Windows since the 90s, and users have always had the freedom to choose whether to link their PC to Microsoft's services or not.
The Workarounds That Are Now Blocked
For years, tech-savvy users have found clever tricks to skip Microsoft's mandatory sign-in screens. But Microsoft keeps patching them out one by one.
The latest target? The "start ms-cxh:localonly" command — a hidden trick that many users discovered after older methods stopped working. This command could be entered during setup to force Windows into creating a local account.
Previously, users relied on another method involving the bypassnro.cmd script, which became a popular workaround back in early 2025. However, that too was patched out by Microsoft, effectively cutting off the easiest way to avoid online account login.
Now, with both methods gone, the options for setting up Windows 11 completely offline are dwindling fast.
A Small Consolation: User Folder Naming
There is, however, one small bit of good news. In this latest Insider Preview build, Microsoft now allows you to customize your default user folder name during setup — something that used to be locked or auto-generated based on your Microsoft account email.
But before you get too excited, there's a catch: you'll still need to open the Command Prompt during setup to make this change. So, while technically possible, it's not exactly a straightforward feature for average users.
A Growing Divide Between Users and Microsoft
Microsoft's steady removal of offline setup options has stirred up frustration within the Windows community. Many users argue that the company is ignoring those who value privacy, flexibility, and simplicity.
Some simply don't want their PCs tied to online services; others just want to rename their user folders properly — something you can't do easily with a Microsoft account login. And then there are those who genuinely need to install Windows without an internet connection, especially in controlled IT environments or offline machines.
For these users, Microsoft's decision feels like yet another move toward locking down customization and pushing everyone deeper into the Microsoft ecosystem.
Some Workarounds
Method 1: The "OOBE\BYPASSNRO" Command (Most Effective for Recent Versions)
This is the modern, official command that triggers the same bypass as the old methods. It's currently the most consistent way to do this.
- Start the Installation: Proceed with the Windows 11 setup until you reach the "Let's connect you to a network" screen. This is the screen that forces you to connect to the internet.
- Open Command Prompt: On this screen, press Shift + F10 on your keyboard. This will open a Command Prompt window.
- Enter the Bypass Command: Type the following command and press Enter:textOOBE\BYPASSNRO
- Wait for the Reboot: The computer will automatically restart and go back to the beginning of the setup experience.
- Proceed to the Network Screen Again: You will once again reach the "Let's connect you to a network" screen. This time, look in the bottom-right corner. You will see a new option: "I don't have internet".
- Click the New Option: Click on "I don't have internet".
- Continue with Limited Setup: You will then see a screen saying "You'll need the internet for this" with a "Continue with limited setup" button. Click it.
- Create Local Account: You can now proceed with the rest of the setup. When you get to the "Sign in with Microsoft" screen, you will see a new, less prominent option for "Domain join instead" or "Offline account". Click that, and then you can create a standard local username and password
Method 2: The Legacy "I Don't Have Internet" Method
In some builds, the old method might still work if you can find the hidden option.
- Reach the "Let's connect you to a network" screen.
- Look for a tiny "Back" arrow in the top-left corner of the window and click it. If it's not there, this method won't work.
- If you click "Back," it might take you to a previous screen where you can select "I don't have internet".
- Then, click "Continue with limited setup" and create your local account.
Note: Microsoft has largely removed this "Back" button in recent builds, making Method 1 (OOBE\BYPASSNRO) the primary solution.
Method 3: Disconnect from the Internet Physically
This is a simple, low-tech method that works if your computer has an Ethernet cable.
- For Desktops/Wired Laptops: Do not connect the Ethernet cable until after you have finished the setup and created the local account.
- For Wi-Fi: On the network selection screen, simply close the window (click the 'X' in the top-right) or just don't select any network. This will sometimes trigger the "I don't have internet" option to appear.
This method is less reliable than the Command Prompt method, as Windows 11 is very aggressive about forcing a connection.
Method 4: Using a "Dummy"/Bogus Microsoft Account
If the command prompt method fails for some reason, this is a last resort.
- On the "Sign in with Microsoft" screen, enter a clearly fake email and password, like
This email address is being protected from spambots. You need JavaScript enabled to view it.and any password. - The setup will try to sign in and fail, showing an error message like "That Microsoft account doesn't exist."
- After the error, the setup will often present you with an option to create a local account as a fallback.
Final Thoughts
It's clear that Microsoft is tightening the reins on how Windows 11 is set up. While the company insists these changes are meant to ensure "a fully configured experience," they also signal the slow disappearance of true offline independence in Windows.
For now, the new restrictions are limited to Windows Insider test builds, but if there's little backlash, expect them to roll out to everyone soon.
So if you're someone who values the good old local account setup — better hang on to your current version of Windows 11 while you still can.


Comments