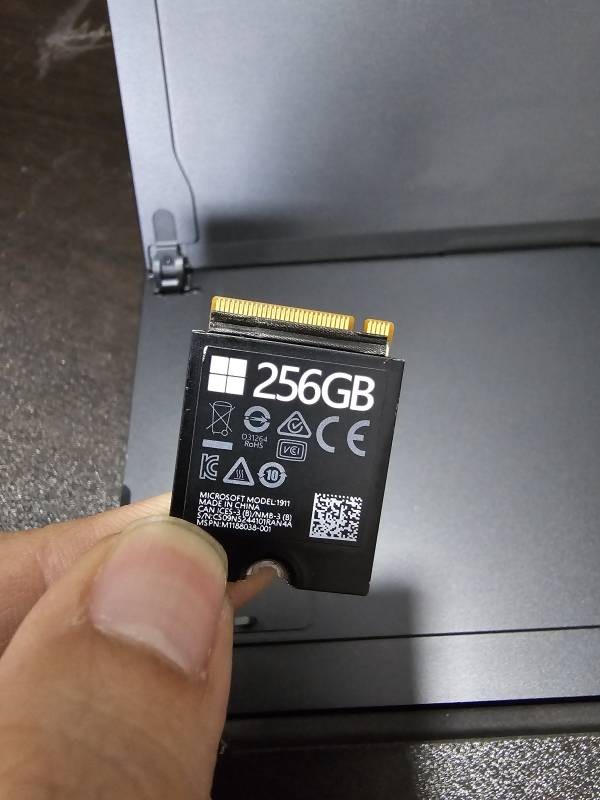
Back in March 2025, I decided to give my Surface Pro 8 (i7, 256GB model) a serious speed and storage boost. After digging around forums and reading tons of conflicting info online, I took the plunge and replaced the original NVMe with a Gen4 model. Here's how it went — and what you need to know if you're planning to do the same.
Before the Upgrade: Measuring the Baseline
Before making any changes, I ran CrystalDiskMark to measure my current NVMe speeds. The results were:
Not bad, but not great for 2025 standards — especially when heavier multitasking and video work started pushing the limits.
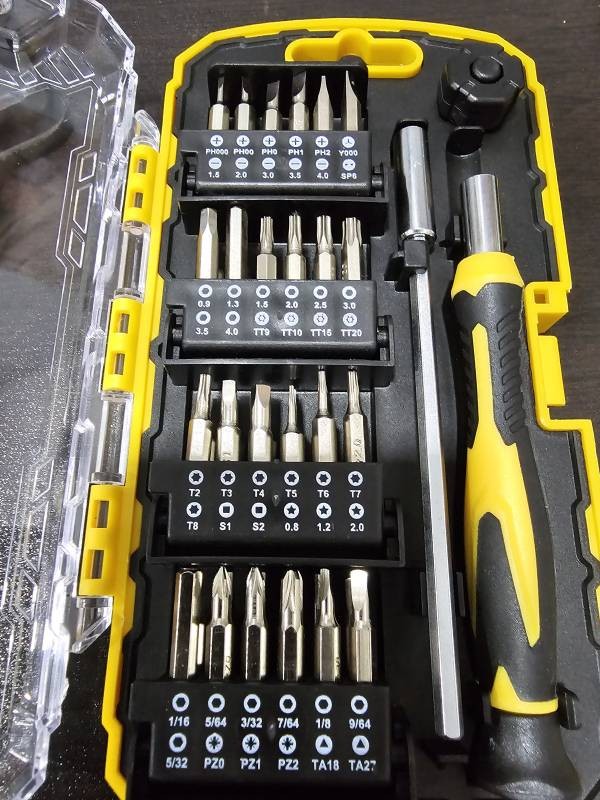
What You Should Know First: Pre-Requisites
Before opening your Surface Pro 8, make sure you have the following:
The Compatibility Confusion: Does Gen4 NVMe Even Work?
Almost every source I checked — including Microsoft's own support pages — claimed the Surface Pro 8 officially supports NVMe 2230 Gen3 only. A few tech enthusiasts online had bricked systems trying Gen4 drives, while others suggested advanced tweaks like enabling AHCI Link Power Management - HIPM/DIPM to "Active" to prevent BSOD (Blue Screen of Death) issues. For context, HIPM/DIPM refers to power-saving features that sometimes clash with high-speed drives during idle or resume states.
The problem? Gen3 2230 drives are practically extinct in 2025. Most retailers have long since phased them out. So unless you're hunting down overpriced refurbished units on eBay, Gen4 is your only viable path.
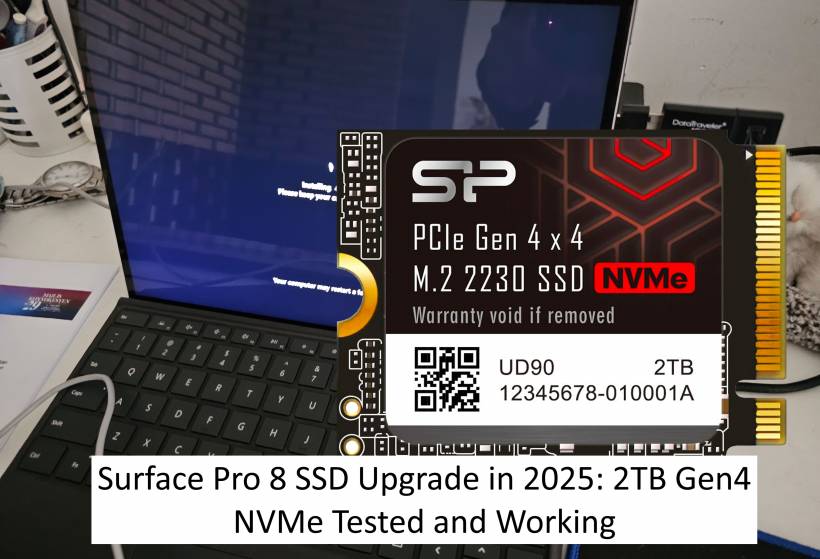
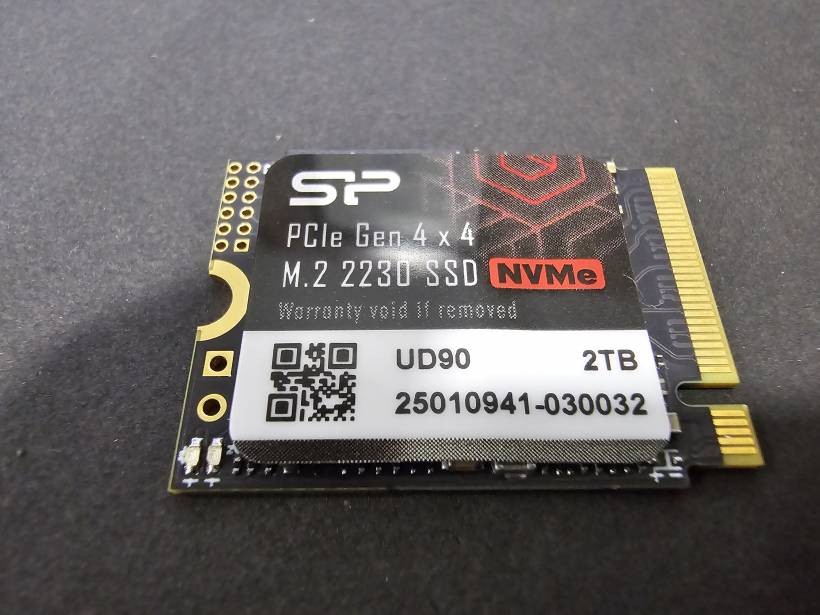
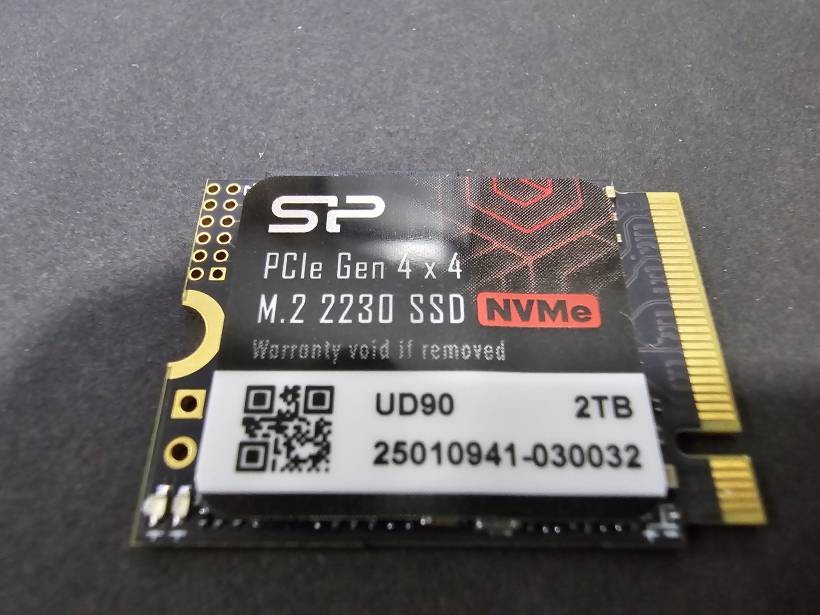
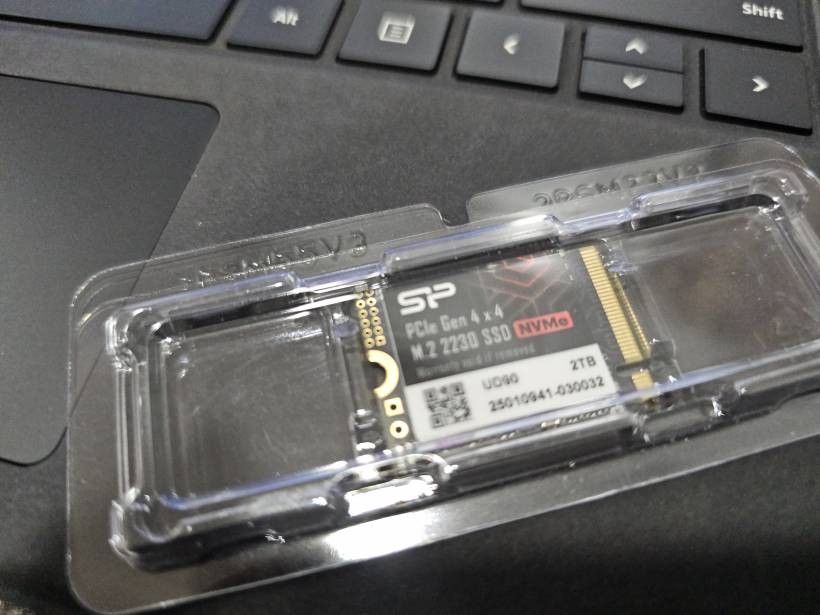
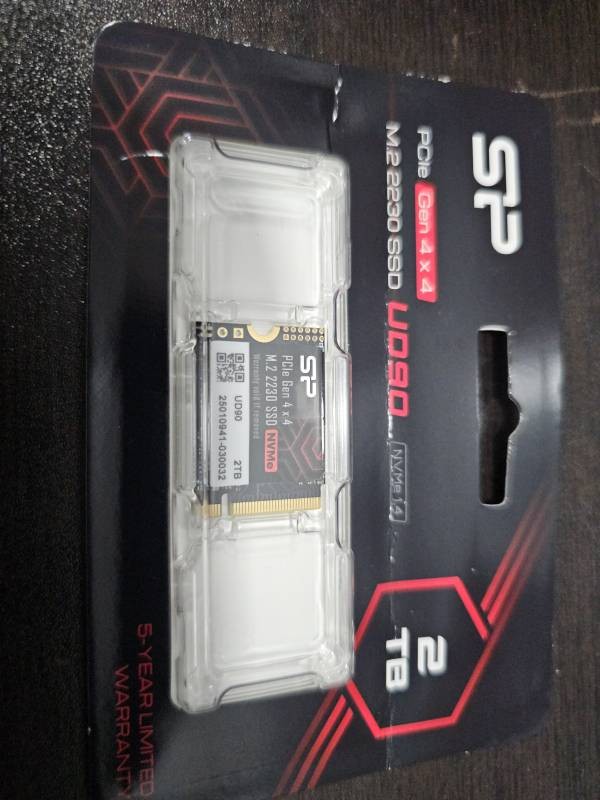
The Gamble: Enter Silicon Power UD90 Gen4 2TB
Despite the warnings, I picked up a Silicon Power UD90 2TB Gen4 NVMe. Worst case, I figured I could repurpose it in my desktop. But best case? A huge upgrade.
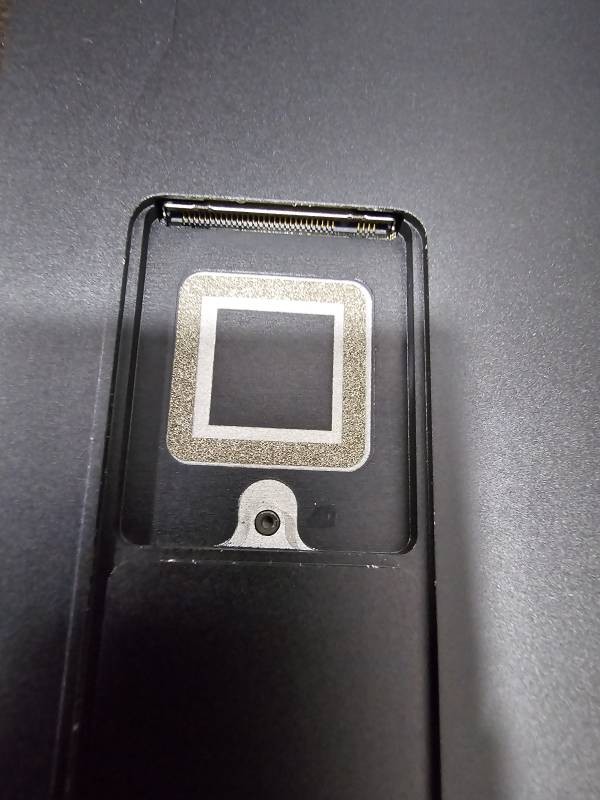
Physical Installation: Easier Than Expected
Here's how I swapped the drive:
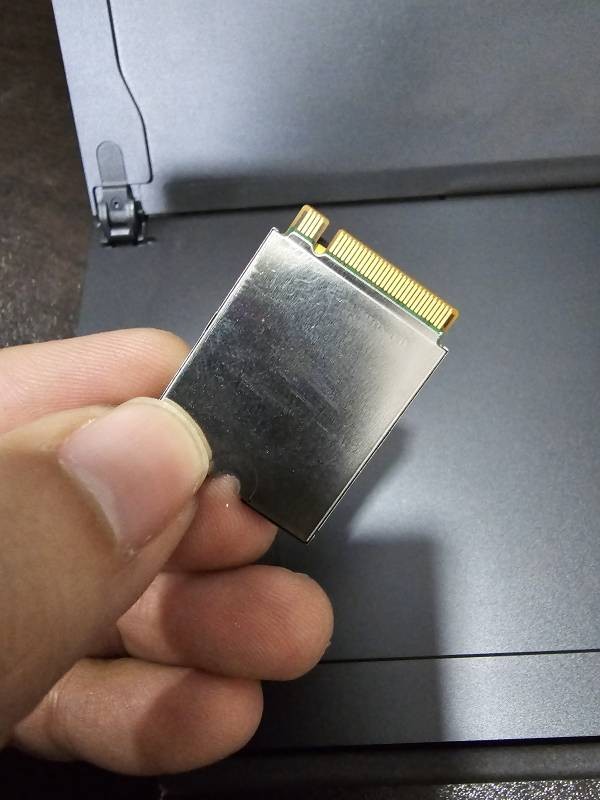
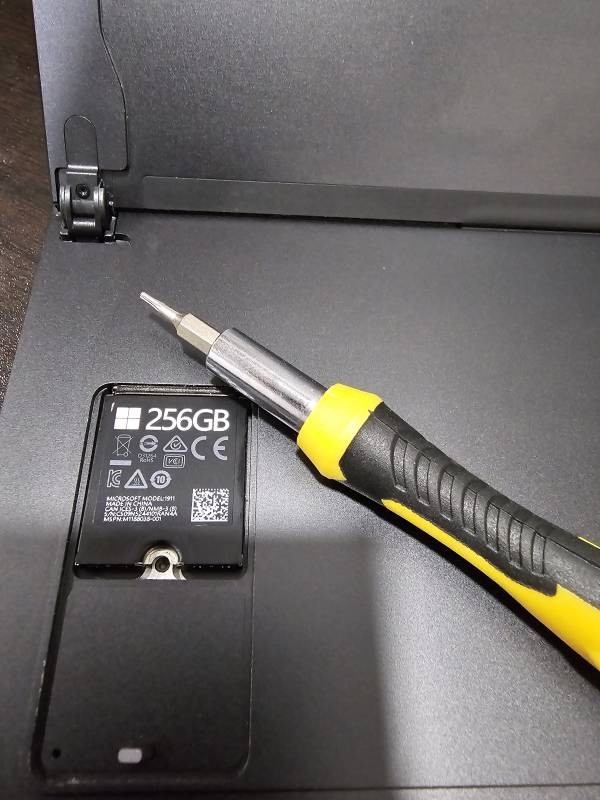
Result? It powered on — but unsurprisingly, no boot volume was found. That's normal after a new drive install.
Installing Windows: Your Options
Now comes the software part. You've got a few choices:
Option 1: Clone Your Old Drive
Option 2: System Image Recovery
Option 3: Fresh Installation (My Choice)
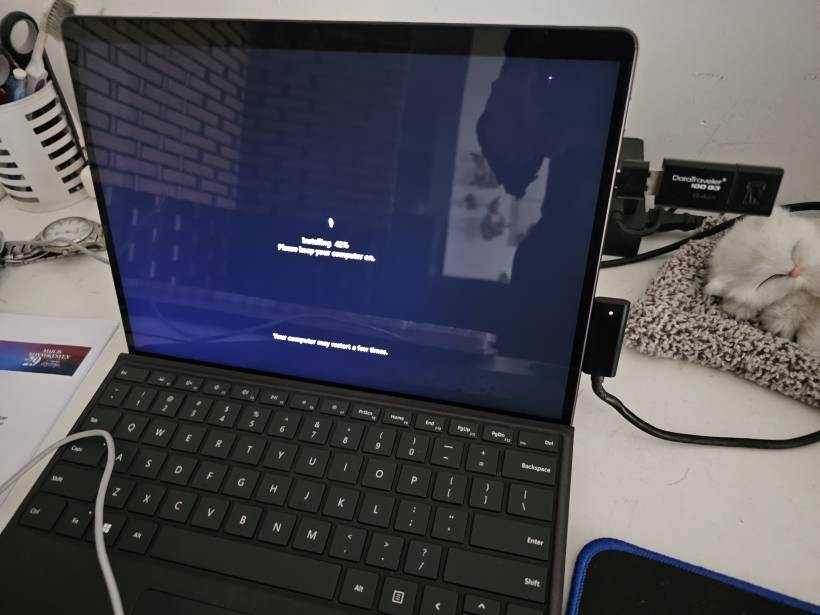
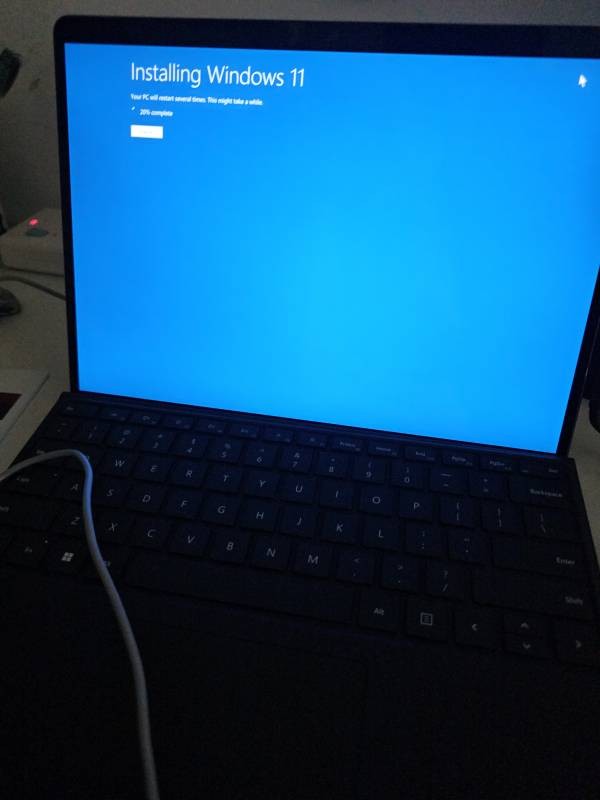
Installing Windows 11 24H2
- Create a bootable USB using Microsoft's Media Creation Tool.
- Plug it into the Surface.
- Boot to USB by holding Volume Down + Power.
- Follow on-screen instructions.
- Skip product key entry — your activation is tied to your hardware + Microsoft login.
Post-Install Steps: Drivers and Optimization
Before you celebrate, don't forget:
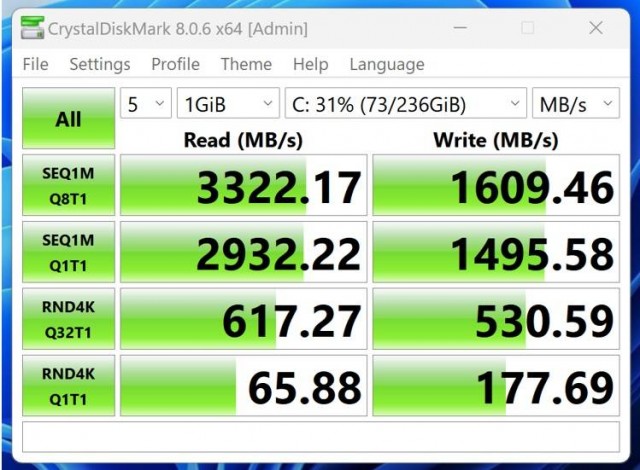
Final Benchmark
After installation, I reran CrystalDiskMark. Here's the performance boost:
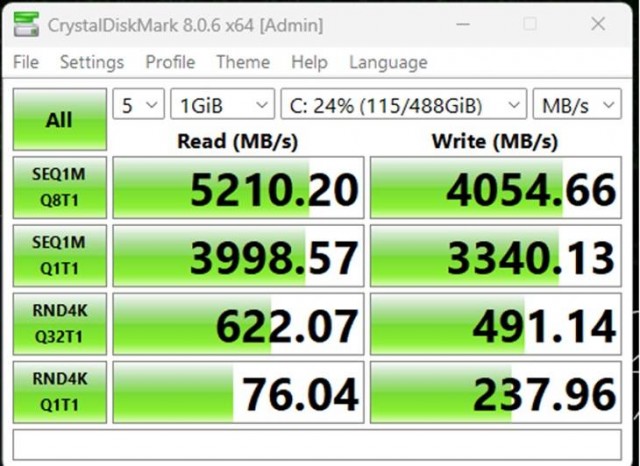
That's more than 50% gain in both read and write speeds. Beyond numbers, boot times, app launches, and file transfers are noticeably faster in everyday use.
Summary: Was It Worth It?
Absolutely. Three months later (now June 2025), the drive is still rock-solid and performing flawlessly. No BSODs, no hiccups. If you're still on the fence about whether a Gen4 NVMe works in a Surface Pro 8 — I can confidently say: it does. Just make sure you prep carefully, back up everything, and follow the right steps.
If you're in the same boat, give it a shot. Just don't forget your T3 screwdriver.